

aows #21

on how I make an image
There’s a lot of work behind an image. It’s a process made of several steps that can feel overwhelming at times. That’s ok. Just remember that all photography starts the same way: by grabbing your camera and heading outside.
The following is a quick overview of my whole photographic process.
I - planning
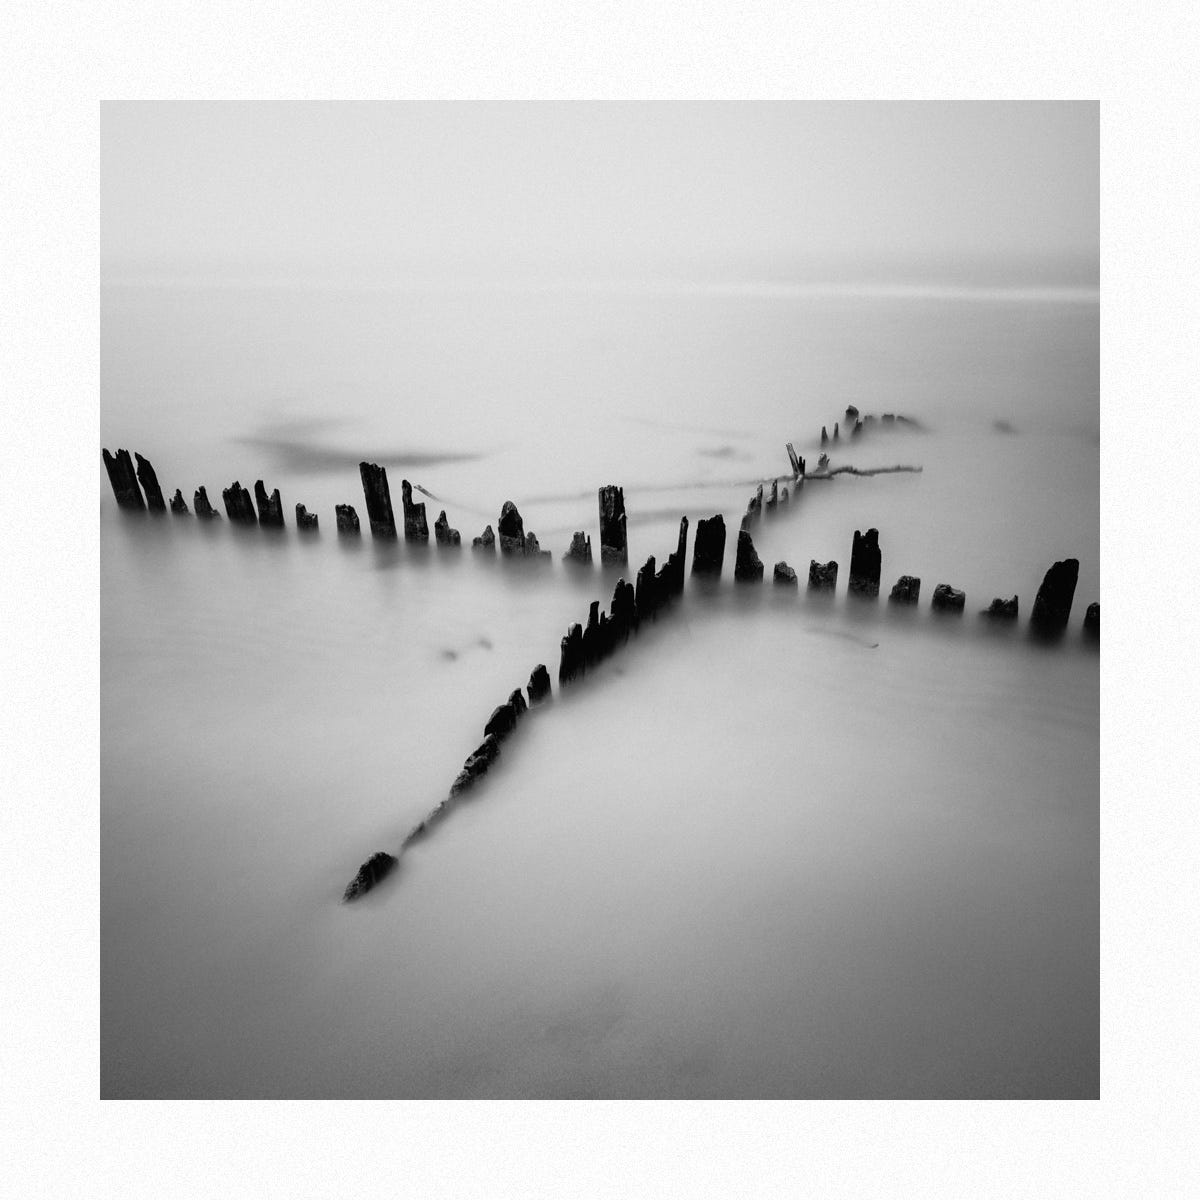
No matter where you are, there’s always an image to be made. If I’m at home, I always bring a small compact camera with me. You just never know when you are going to run into a beautiful scene!
When it comes to new locations, I don’t do any scouting, nor do I plan any shots. I just open Google Maps and look for some places that could be interesting: a lake, a pier, a park, a building. Or I just go on a hike. And I go from there, embracing whatever I might find.
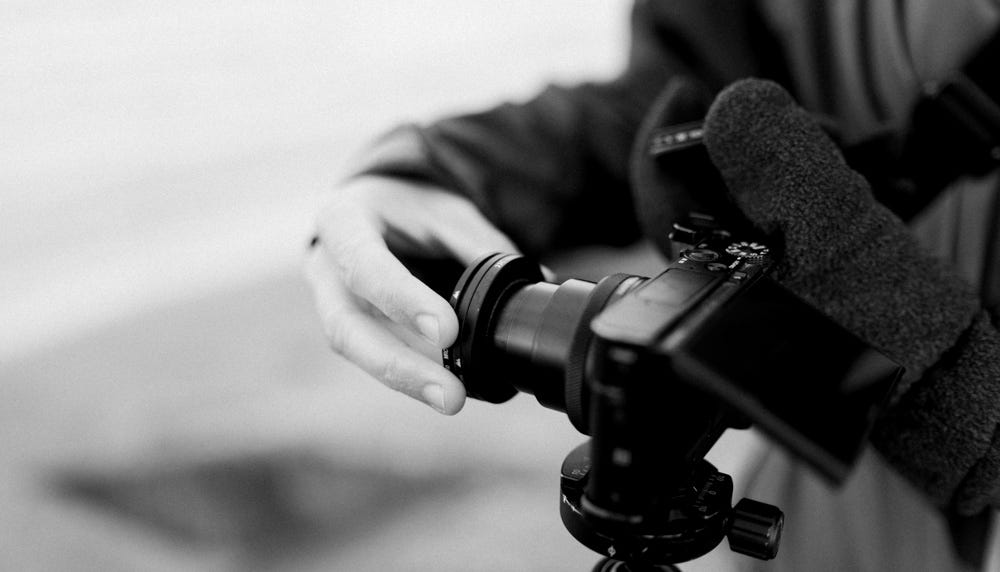
II - in the field
Once you are out there with a camera in hand, you are just one click away from your best image ever. At least, if you shoot in auto mode like I do.
Cameras have gotten pretty fast and smart, and they’ll choose pretty good settings for most situations. And with a mirrorless camera, you actually see what you are going to get, both in the viewfinder and on the screen.
Technicalities aside, your job as a photographer is to focus on what matters: your image.
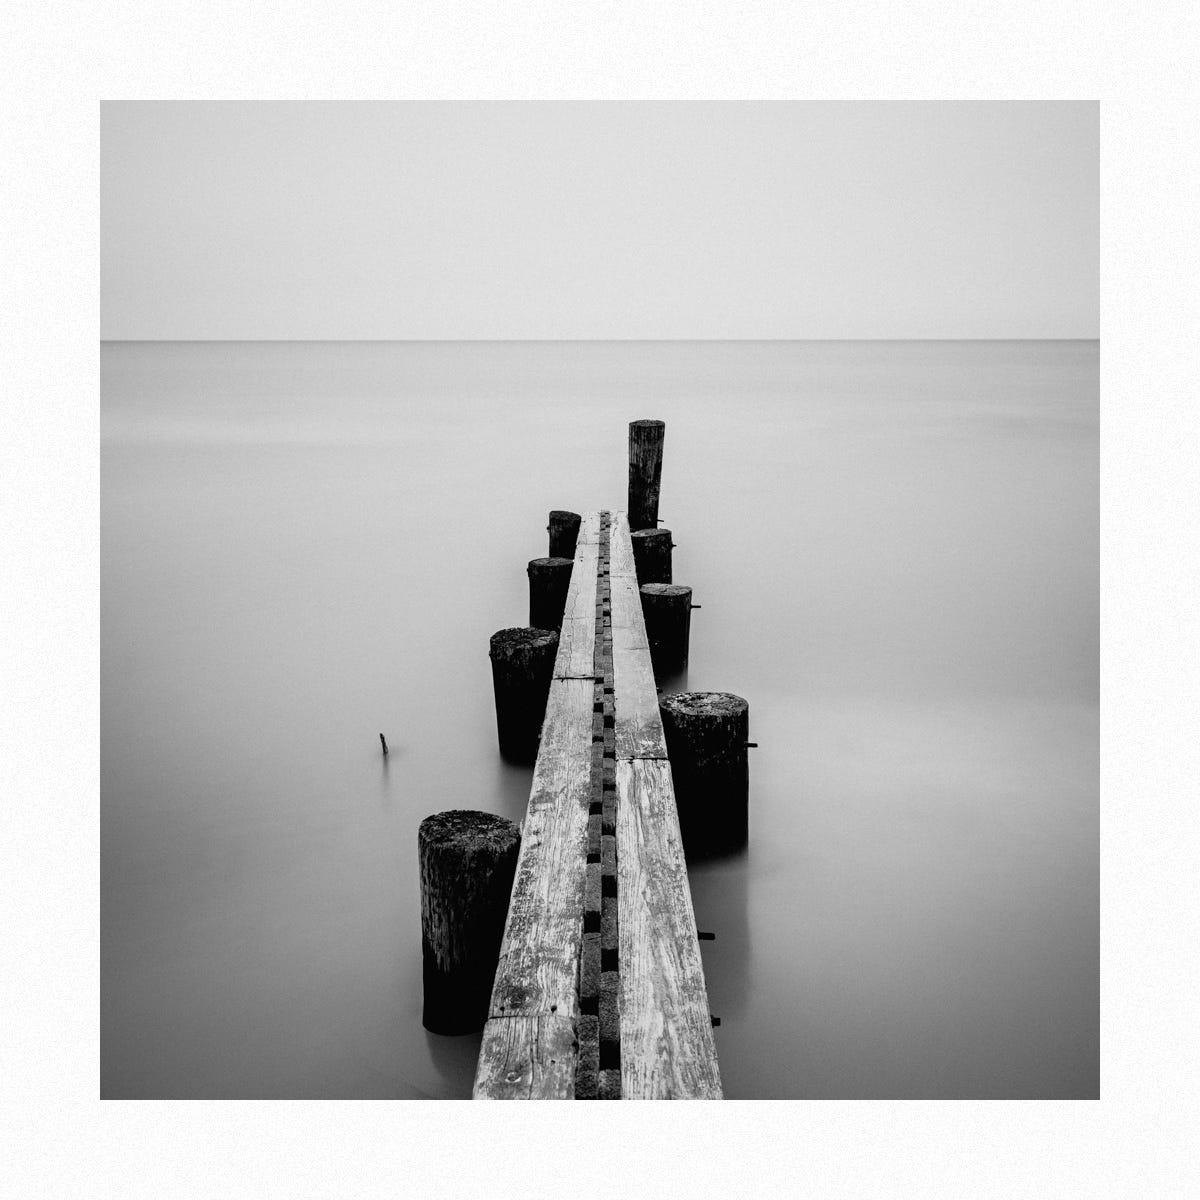
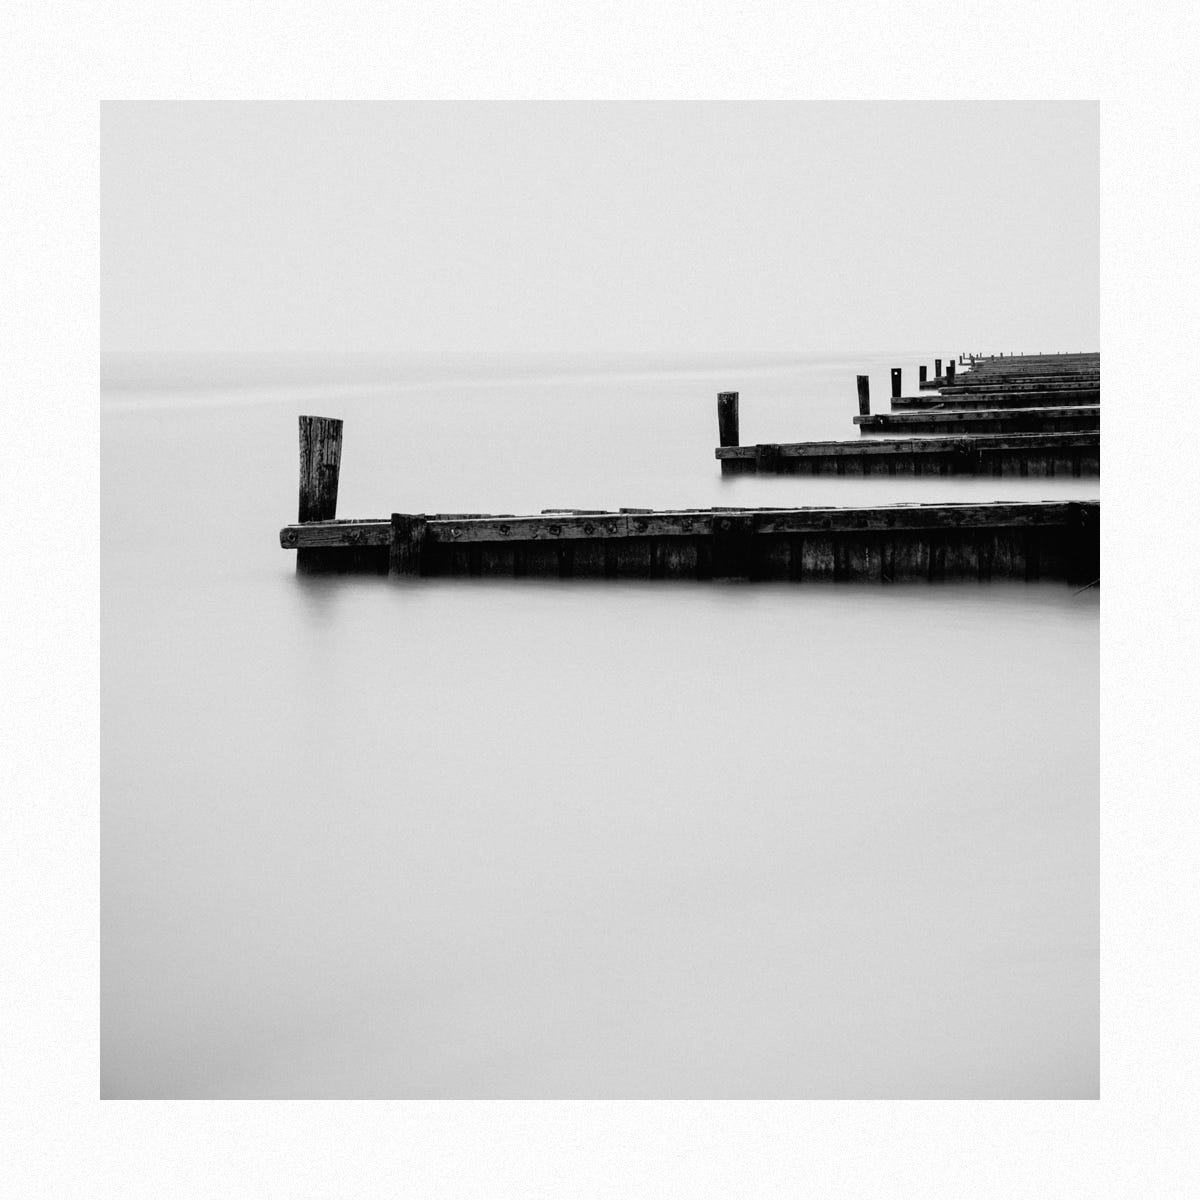
The one mistake beginners make is to focus only on the subject. While very important, the subject rarely makes or breaks an image. It’s all about how you make that subject stand out from its environment: I try keep the background as simple as possible, while I watch the edges for distractions.
I work the scene. This means I will approach it from every angle, even using different lenses, until I find something that I like. But if I’m not sure which one I like the most right away, I just shoot them all and put it off until I get back home. There’s absolutely no shame in this, and you shouldn’t feel like you only have one chance to press the shutter. It’s not true and it will only hurt your photography.
III - editing
Back home from the photography trip, I will select a few to work on, and share on social media in the next few days. I also delete the obviously bad ones: out of focus, blurry and silly ideas. The rest of the photographs will sit there for a bit —months, if not years.
Eventually I will get back to them. Mostly detached from the emotions of the trip, I can look at them with a new perspective. I might try some new adjustments, a different crop… but most of the time, I just delete them. Then, I repeat the process until I’m left with a handful of images. Hopefully, the very best ones.
When it comes to the post-processing, I have a preset that serves as a starting point, and I go from there. I keep my editing pretty simple. All my catalog is stored in the cloud so I can access it from anywhere using my phone. This makes sharing my images very easy.
IV - sharing
I share my images online on social platforms and on my website. The latter is a highly curated portfolio, while I’m more liberal with what I share on social media.
As you might have noticed, I like to add some empty space around my images by adding white borders to the ones I share on Instagram and Twitter.
But for a photographers and their photos, the final step of the process is the print, right? Due to my lifestyle, I don’t own a printer, so I use a professional lab to print and ship my images. I usually order a big batch after a trip, and once I’ve made sure everything looks good, I put some of them up for sale on my website.
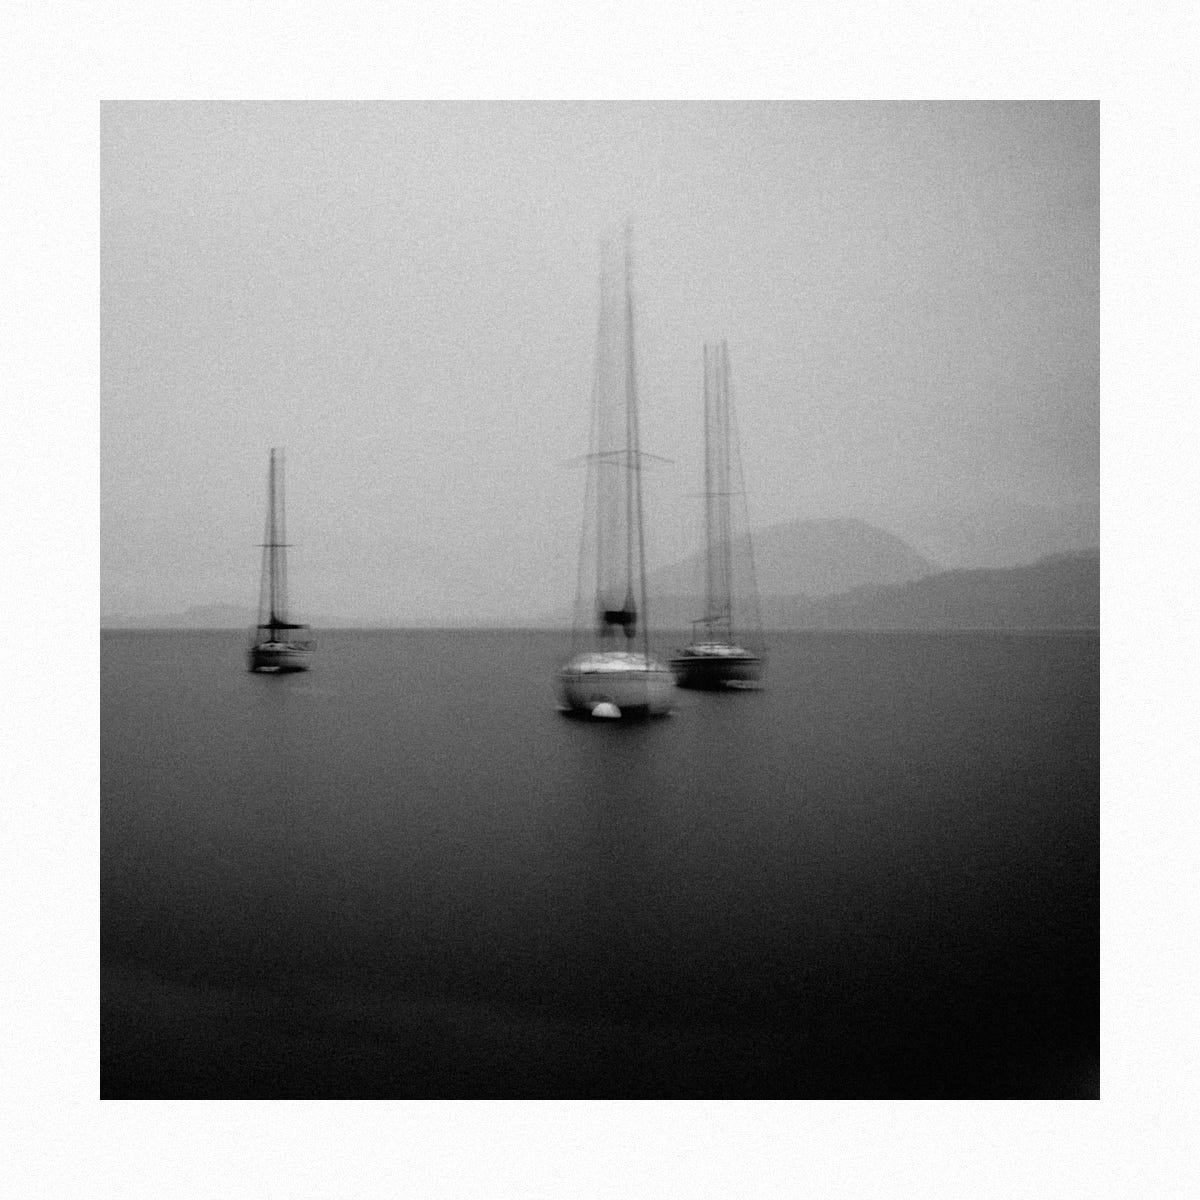
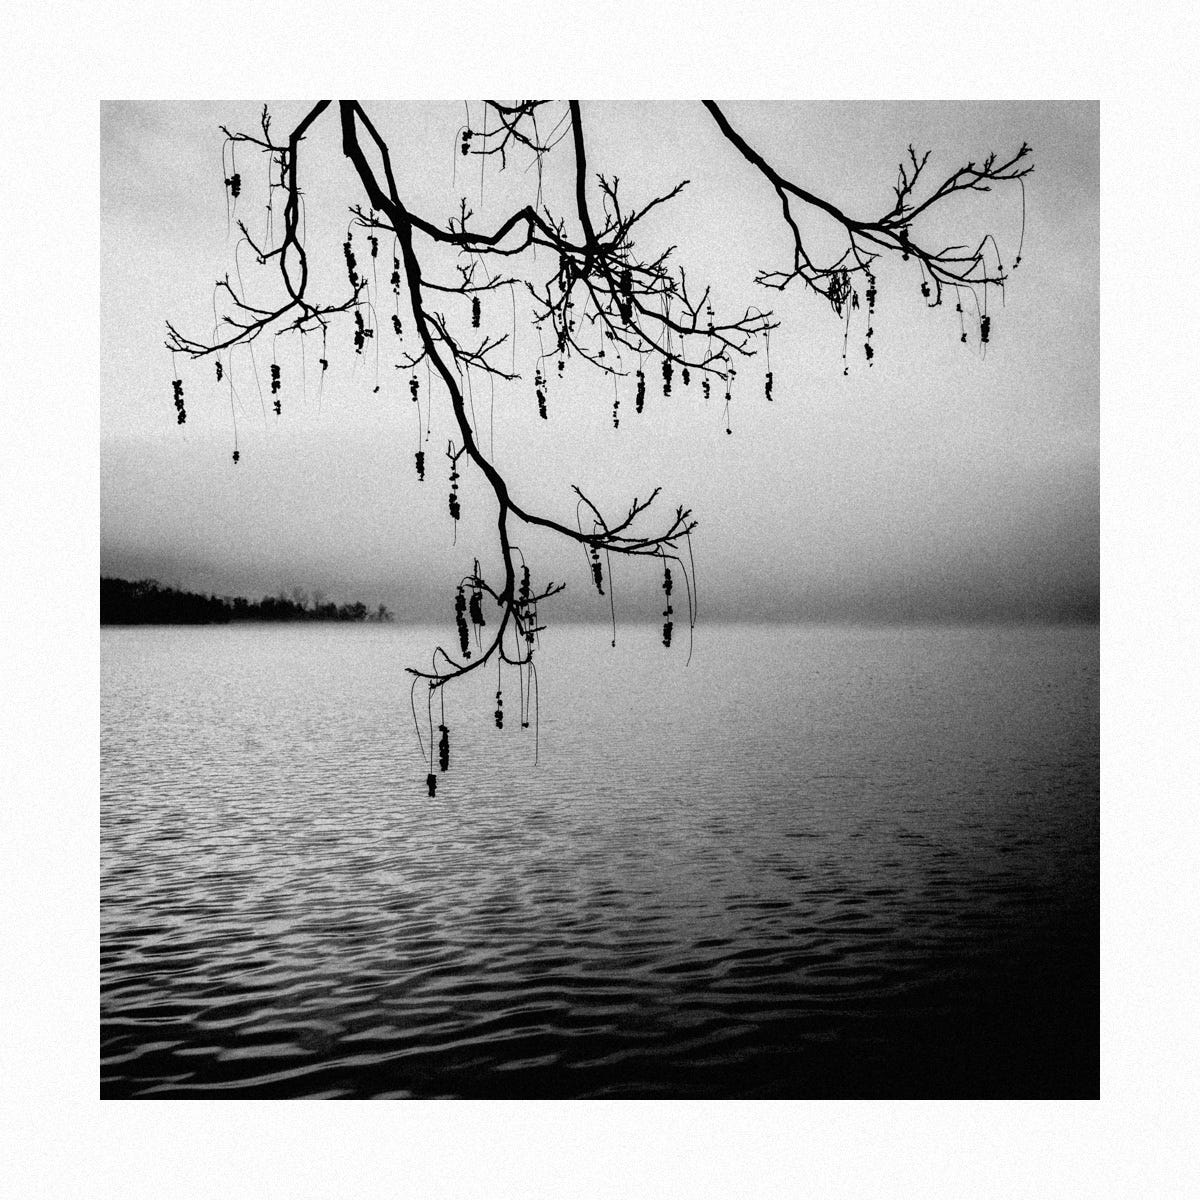
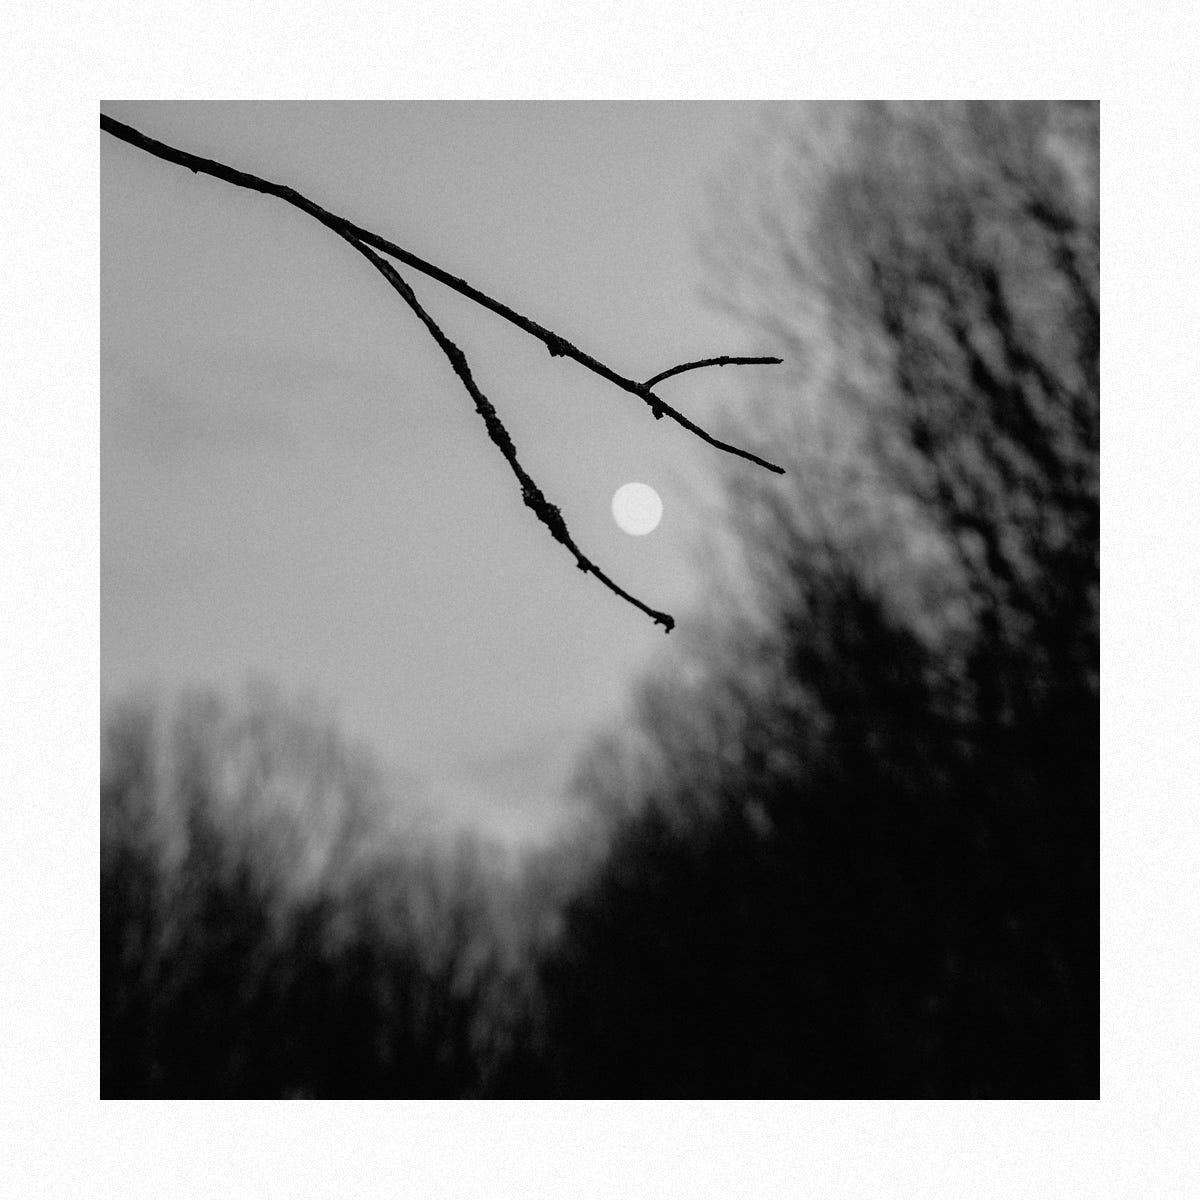
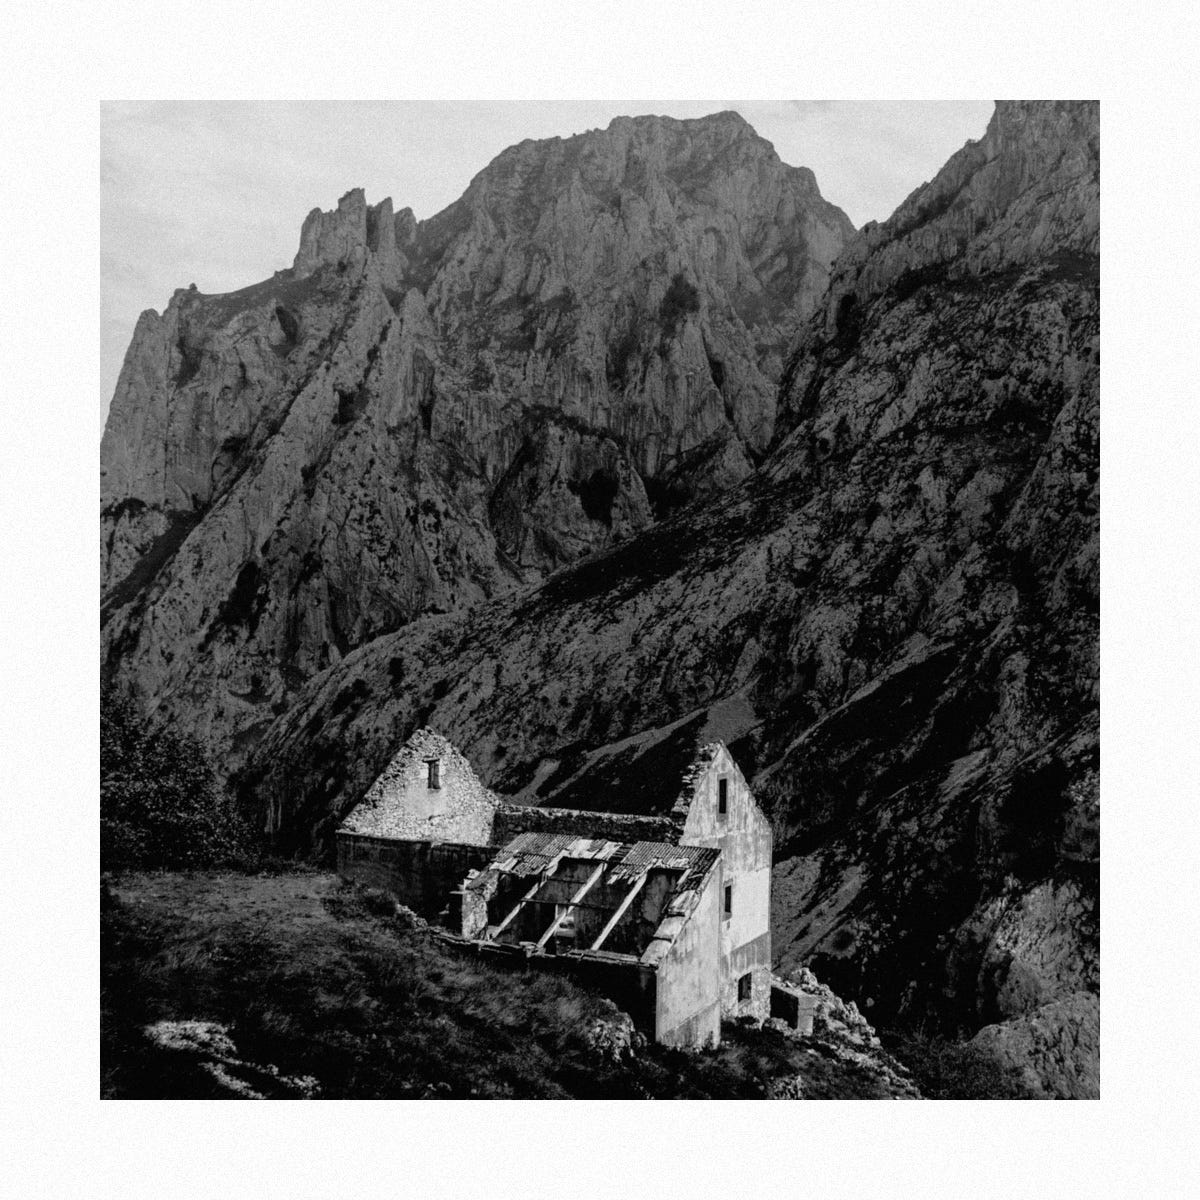
new images


new videos
My ND filter collection has grown a little bit since I last shared it in video.
If everything goes well with Hairball and its next visit to the shop, I should be on my way to new adventures in the West in just a few days. I’m very excited to hit the road again, and to share it with all of you here.
Thank you so much for being there once again.
Hope you all have a great week!
Adrian
Excelentes imágenes !!